Plugin setup / installation on Windows - Step by step
Last update February 04, 2022 / This article concerns Windows users only
-
After you download .msi installation file, use mouse double-click to open it

-
Once you open setup you will be greeted with the setup window:
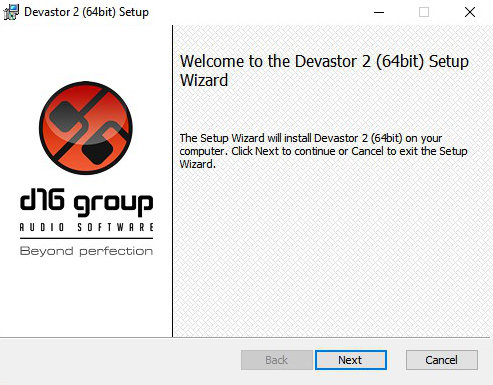
Click Next to continue
-
Next stage is becoming familiar with User License Agreement
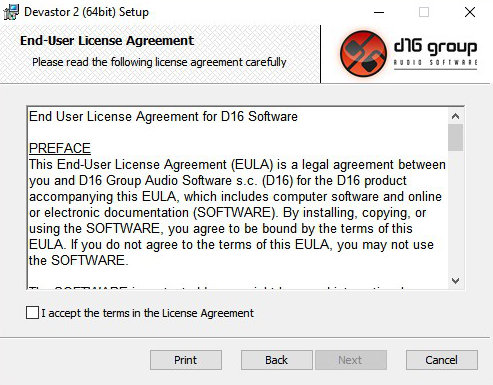
After you become familiar with the EULA tick the I accept the terms in the License Agreement checkbox and hit Next to continue
-
Now you can select which plug-in formats you want to install
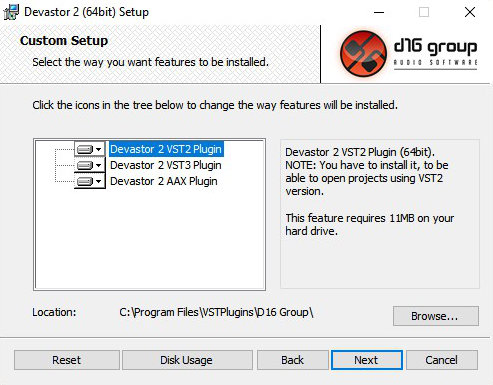
Using the dropdown icon next to each plug-in format we can decide whether install / not-install particular format:
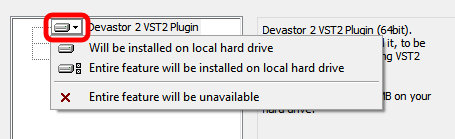
- Will be installed on local drive - Plug-in format will be installed
- Entire feature will be unavailable - Plug-in format won't be installed
There are following plug-in formats available (the available options may vary from product to product):
-
VST2 - By default VST2 is installed to
C:\Program Files\VSTPlugins\D16 Groupfolder. You need to refer to your DAW / Host application settings and change the install location (if necessary) accordingly. Use the Browse button to select new install location for VST2 plugin format.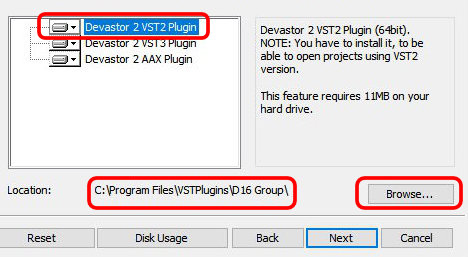
-
VST3 (if available) - You can't change its install location. This format is installed into default system location all DAW / Host applications will be able to access the plug-in from.
-
AAX (if available) - You can't change its install location. This is plug-in format recognizeable by Pro Tools only and it's installed into designated by Pro Tools location it'll have access to.
No standalone application
D16 Group software is installed as plug-ins only, meaning there's no standalone application and you can directly launch from Start menu. You need DAW / Hosting application compatible with one of plug-in formats we ship the product as.
Plugin formats availability
Plugin format availability varies from product to product. For details about compatibility / and which plug-in formats are available for specific product, please refer to this compatibility chart.
Once you've selected appropriate formats to install hit Next button to continue
-
Now you're ready to install the product:

Click Install button to continue. You will be prompted by the system to allow the installer to make changes on the device. Please allow it.
-
The product has been installed
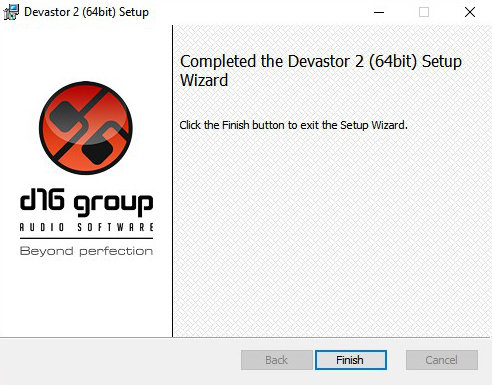
Click Finish button to close the installer and conclude the installation.