Plugin setup / installation on macOS - Step by step
Last update February 04, 2022 / This article concerns Mac OS X users only
-
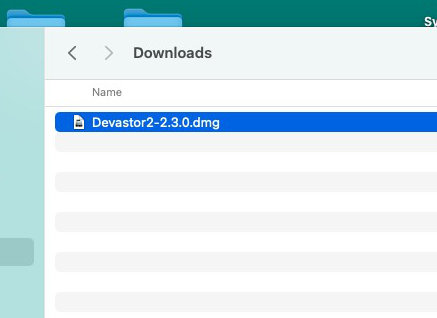
Do a mouse double-click on downloaded installation dmg package
-
After that the dmg file is mounted and opened.

Find the .pkg installation file and use mouse double-click on it to start installation process.
-
Once you open .pkg file you will be greeted by the installation dialog

Click the Continue button to get to next step.
-
At this stage you will be presented with End User License Agreement
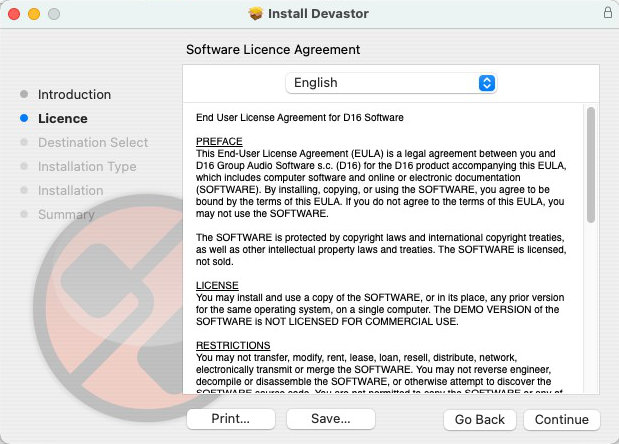
Read it and hit Continue button.
-
You need to confirm you consent with EULA:

Hit Agree button if you want to continue installation process.
-
This stage allows you to change install options.

The installer will install all plug-in formats available:
- VST2
- Audio Unit (AU)
- VST3 (if available)
- AAX (if available)
To continue hit Install button.
Note
Don't change install location, leave it untouched, meaning keep the Macintosh HD (system drive) as install location.
No standalone application
D16 Group software is installed as plug-ins only, meaning there's no standalone application and you can directly launch from your Applications. You need DAW / Hosting application compatible with one of plug-in formats we ship the product as.
Plugin formats availability
Plugin format availability varies from product to product. For details about compatibility / and which plug-in formats are available for specific product, please refer to this compatibility chart.
-
Now the installation process will being. You will be prompted to authorize the operation:

Enter you system password and click Install Software button.
-
It'll take a while until installation is complete. Once it's done you will see this window confirming completion:
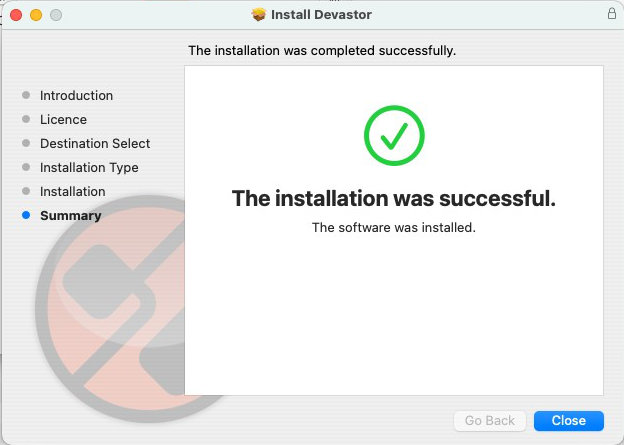
Hit Close button to finish installation and close the installer.